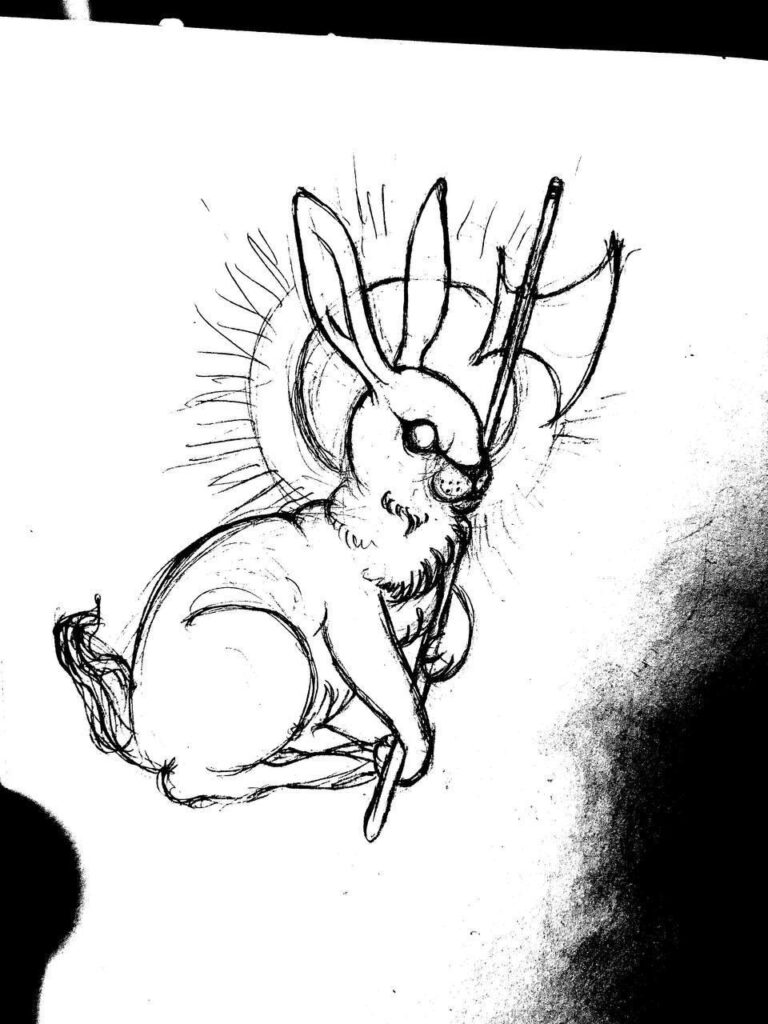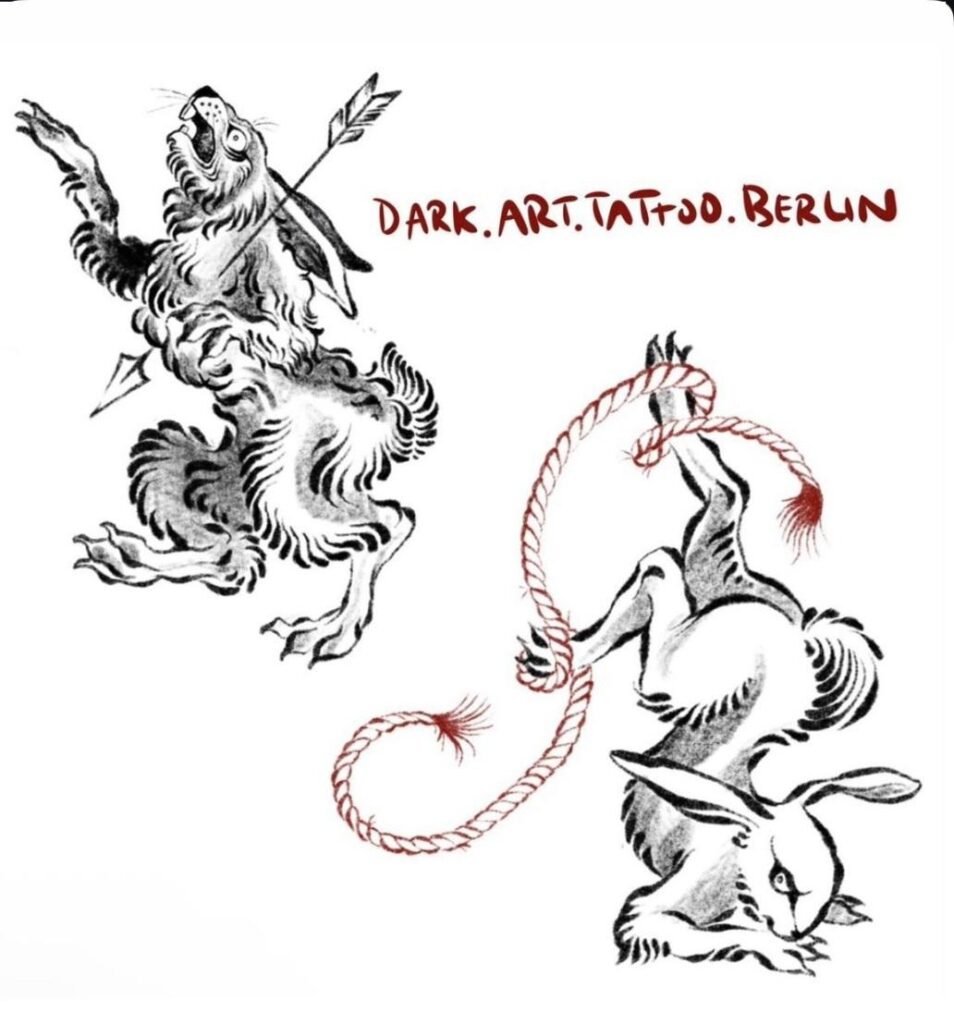
This type of drawing works great as a tattoo design or for a dark art illustration.
I just can’t get enough of these rabbits for my tattoo flashbook right now.
Is the step-by-step guide too boring for you? Skip straight to the end for a summary ☺
Rabbit Head

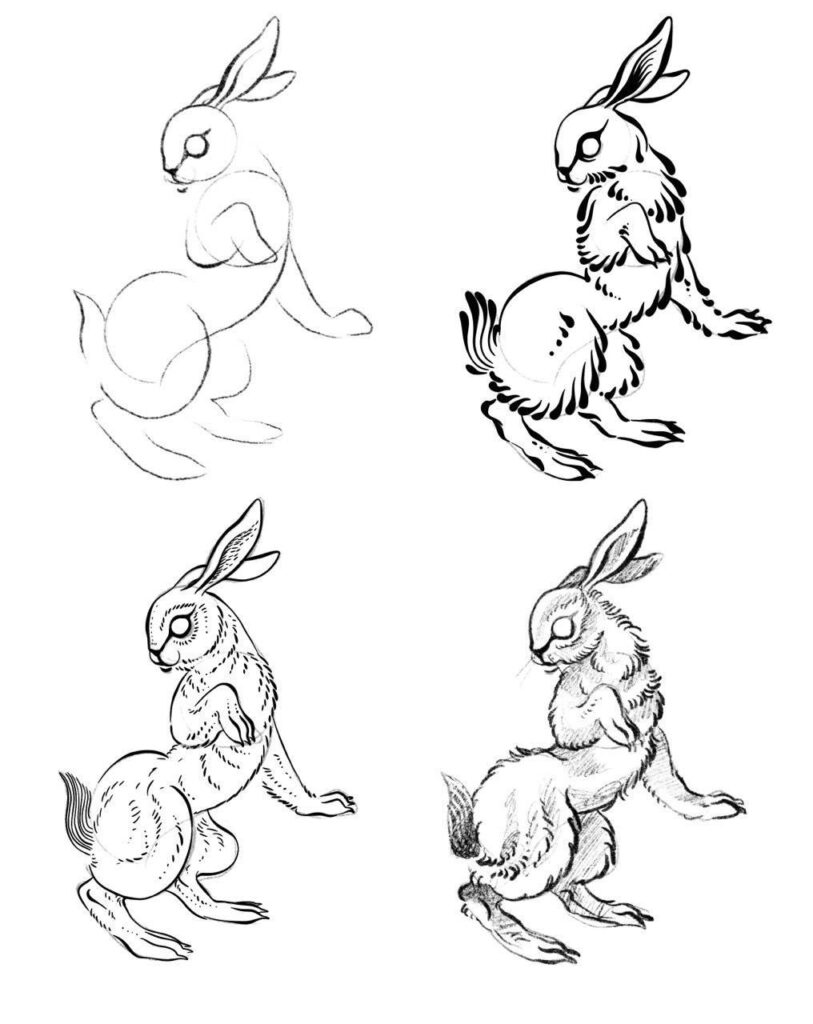
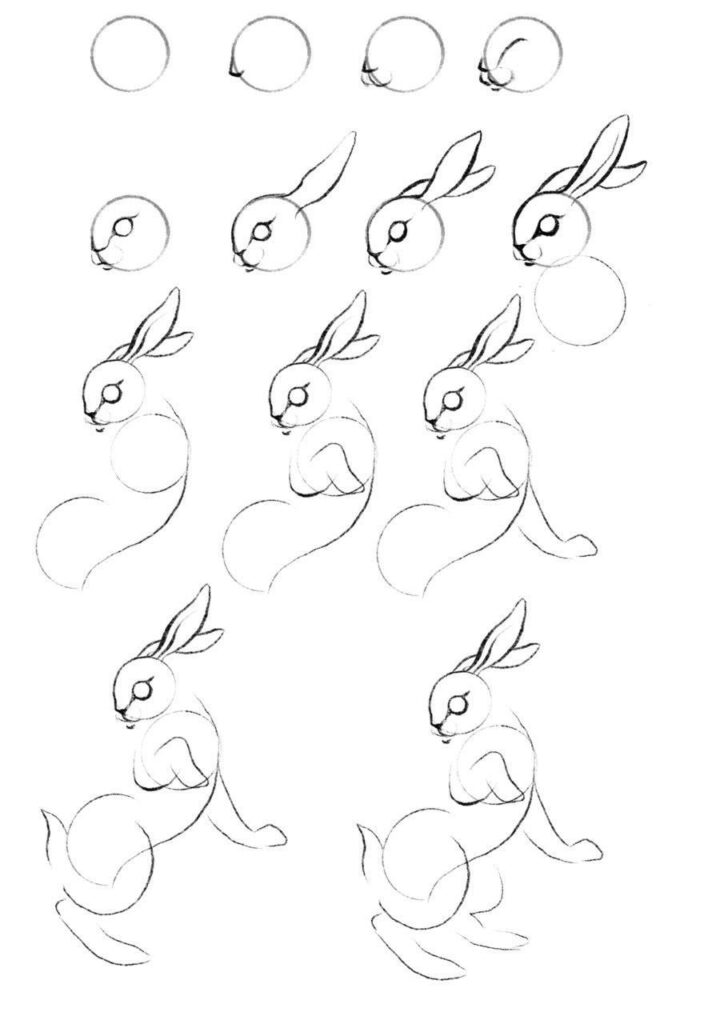
Start with a simple circle in pencil — it’s enough if you can barely see the outline.
Place the basic features of the head using simple shapes.
Draw a large “L” shape for the little nose and simple curves for the snout.
Find the large brow with an easy curved line. Underneath it, we’ll draw an expressive eye.
Rabbit Ears
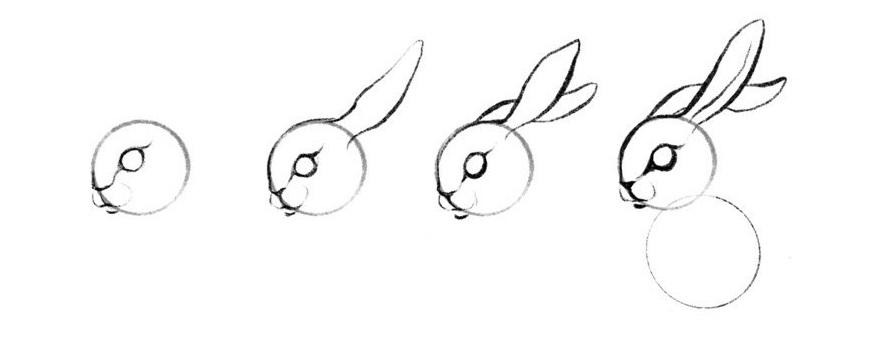
Under the curved brow, add another circle — this is where the eye will sit. Visually, it always looks good if you slightly thicken the lower or front edge of the eye.
Now place the long, floppy ears. Rabbit ears always look a little strange anyway — you can hardly go wrong!
Below the first circle for the head, draw a second circle — this represents the upper body. Try to already picture the rabbit in your mind and use the shapes as guidance.
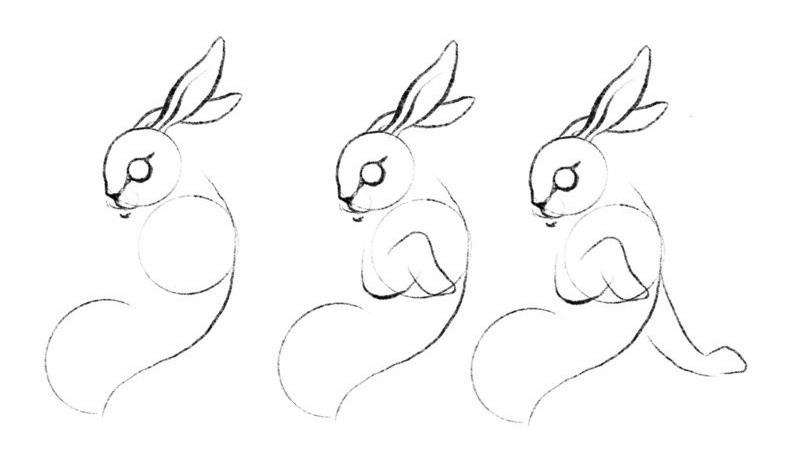
Rabbit Body

Draw one circle for the rabbit’s chest and another circle for the hindquarters. Even a half-circle is enough for the back part.
Connect both circles — the lower line forms the belly. The more curved this line is, the more dynamic the final pose will look.
The rabbit’s paws don’t need to be detailed — quite the opposite. The human eye fills in the details! A few flowing, rounded lines are enough to suggest where the joints and paws are located.
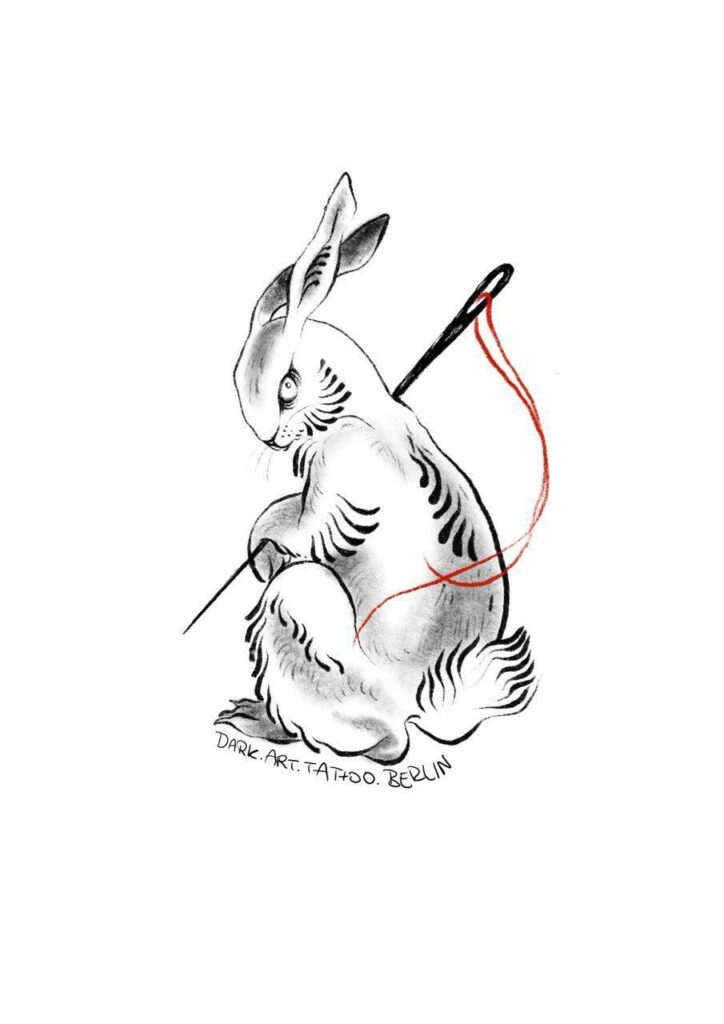
Final Touches
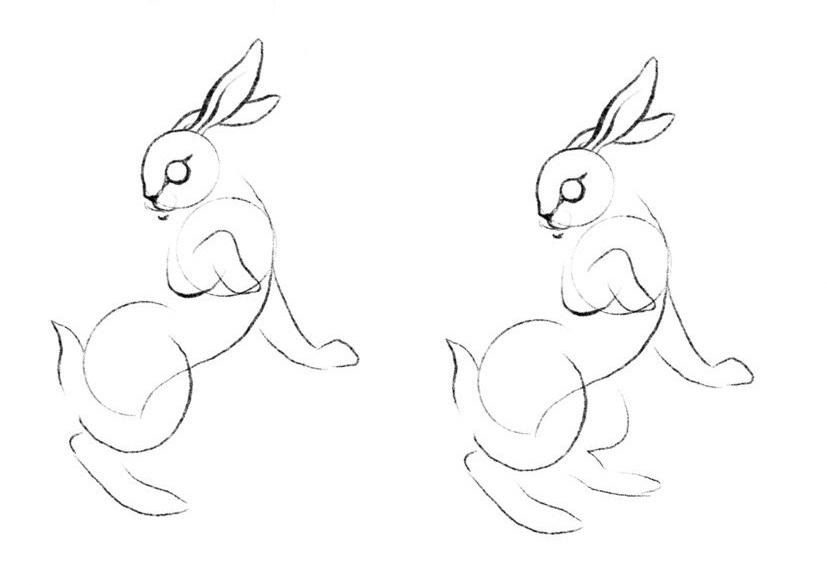
Another half-circle shows where the rabbit’s strong hind legs run. Photos or illustrations by other artists can also really help you understand how a hind leg is structured.
Once the basic structure is in place, add the details — here are different variations of how you can design the rabbit’s fur: